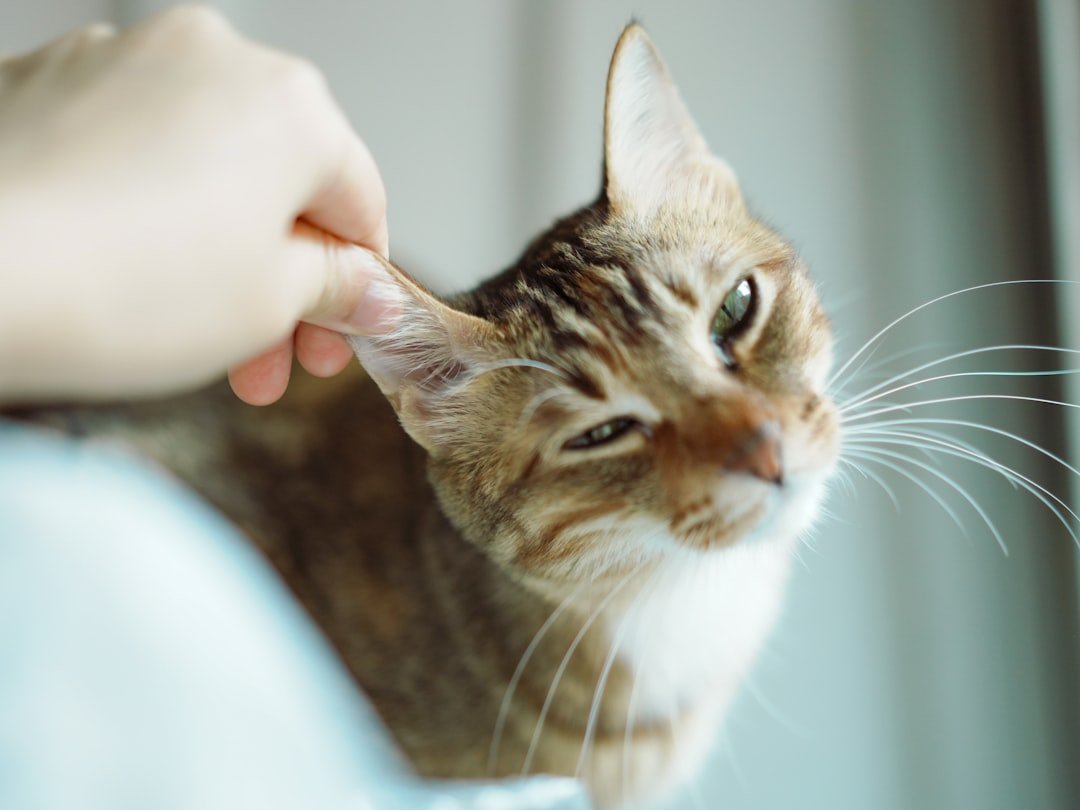
A common misconception is that cats need their ears cleaned on a schedule, like people do. Most healthy cats do not. To learn how to clean cat ears safely, start by checking whether cleaning is actually needed, then use a veterinary ear-cleaning solution only on the visible parts of the ear. How to clean cat ears safely is mostly about being gentle and knowing when to leave the ear alone.
How to clean cat ears safely without overcleaning
A cat’s ear has a long L-shaped canal, so you cannot see all the way inside it. That matters. Pushing a cotton swab into the canal can pack wax deeper, scratch delicate skin, or make an existing problem more painful. Clean only what you can see around the ear flap and opening.
Many cats have a small amount of light brown wax or a little dust in the outer ear. This can be normal. Their ears often stay clean without help, especially indoor cats with no history of ear trouble. Regularly inspecting the ears is useful, but frequent cleaning when they look normal can irritate the skin and leave your cat less willing to be handled.
Look at both ears in good light before you reach for any cleaner. Keep it simple. A normal-looking ear is usually pale pink inside, without a strong smell, heavy debris, redness, swelling, or obvious tenderness. One ear may have slightly more wax than the other, but a major difference is worth paying attention to.
Know when cleaning is appropriate
Clean your cat’s ears when you can see a modest buildup of wax or dirt near the opening, when your veterinarian has advised a home-cleaning routine, or when your cat gets debris in the outer ear after supervised outdoor time. Less is often better. A clean ear does not need more solution just because it is cleaning day.
Stop and arrange veterinary advice instead if you see black crumbly debris, yellow or green discharge, blood, a bad odor, marked redness, swelling, sores, or a large amount of dark wax. Do not guess. Head shaking, repeated scratching, rubbing the ear on furniture, holding the head tilted, seeming off-balance, or reacting sharply when the ear is touched also call for a veterinary check.
Those signs can have several causes, including infection, parasites, injury, allergies, or a growth in the ear. Home cleaning cannot tell those causes apart. Adding cleaner to a painful or badly inflamed ear may make your cat more uncomfortable, and some ear products are not appropriate when the eardrum is damaged.
Gather the right supplies
You need very little for a basic cleaning session. Choose a quiet room with a stable surface, such as the floor with a towel nearby. Calm helps. If your cat dislikes being held, plan for a short session rather than trying to finish everything at once.
- A cat ear-cleaning solution recommended by your veterinarian or labeled for cats
- Cotton pads, cotton rounds, or soft gauze
- A clean towel for your lap or to gently wrap a wiggly cat
- A few treats your cat enjoys, if treats fit their usual diet
Use a cleaner made for ears. Avoid hydrogen peroxide, rubbing alcohol, vinegar, essential oils, shampoo, plain water, and homemade mixtures unless your veterinarian has specifically told you to use one. These can sting, dry the skin, leave moisture behind, or be unsafe for cats. Human ear drops are also not a substitute for cat ear cleaner.
Skip cotton swabs inside the ear canal. They are tempting. A swab may be used only to wipe a fold on the visible outer ear if your cat is calm and you do not insert it into the opening, but a cotton pad is usually easier and safer.
Step by step guide for cleaning cat ears
Start when your cat is relaxed, perhaps after a nap or a quiet meal. Keep the first attempt brief. If your cat walks away after you touch one ear, end on a pleasant note and try again later rather than turning ear care into a struggle.
- Set up before bringing your cat over. Open the cleaner, place several cotton pads within reach, and have the towel ready. Preparation matters. You do not want to leave your cat unattended while you search for supplies.
- Check the outer ear. Gently lift the ear flap, also called the pinna, and look at the visible skin and ear opening. Stop here if you notice discharge, blood, strong odor, significant redness, swelling, or pain.
- Position your cat securely but gently. Sit beside your cat or place them on your lap with their back against your body. Use a towel loosely around the body if needed. Do not pin your cat down or squeeze the chest.
- Apply the solution as directed. Hold the bottle tip just above the ear opening without pushing it into the canal. Add the amount on the label or the amount your veterinarian advised. The tip should not touch the ear if you can avoid it.
- Massage the base of the ear. Fold the ear flap back into its natural position and gently massage the base of the ear for about 20 to 30 seconds. You may hear a soft squishing sound. That is normal when solution is moving through wax near the outer canal.
- Let your cat shake. Step back a little and allow a head shake. Expect splatter. This action helps bring loosened debris toward the ear opening, where it can be wiped away safely.
- Wipe visible moisture and debris. Use a fresh cotton pad or gauze to wipe the ear flap, folds, and the area you can plainly see. Do not dig. Change pads as they become dirty, and never use the same pad for both ears.
- Reward and reassess. Give a treat, gentle praise, or a favorite activity if your cat enjoys it. Then look at the ear again. If it still looks heavily coated after one careful cleaning, do not keep flooding it with solution. Contact your veterinarian for guidance.
For a cooperative cat, the whole process may take only a few minutes. Short is good. The goal is to remove loose, visible material without causing fear or pushing debris deeper into the ear.
Make the routine easier for your cat
Practice handling before an actual cleaning day. Touch the shoulder, offer a treat, then briefly touch the ear flap and offer another treat. Tiny sessions work. Over several days, many cats become more comfortable with the motion of having an ear gently lifted.
Keep your own movements slow and predictable. A sudden grab can make even an easygoing cat resist. If your cat begins to struggle, growl, flatten the ears, swipe, or bite, stop before either of you gets hurt. Forcing the process can make future handling harder and may hide pain that needs veterinary attention.
If two people are available, one person can calmly offer treats and provide light support while the other cleans. Do not crowd the cat. Some cats do better with one person only, especially if they are easily overstimulated by voices and movement.
Clean one ear at a time, then give your cat a break if needed. This is practical. A cat that tolerates thirty seconds today may accept a full gentle cleaning later because the experience did not become overwhelming.
How often should you clean cat ears?
There is no universal schedule. Healthy cats commonly need no routine ear cleaning at all, while cats with certain ongoing ear conditions may need a schedule set by their veterinarian. Follow that individual plan rather than copying a schedule from another cat.
For a cat with ordinary light wax, inspect the ears during regular grooming or once every few weeks and clean only when there is visible buildup. Look, then decide. Repeated cleaning can remove protective oils and irritate the ear canal, so a spotless-looking ear is not the goal.
Long-haired cats, cats with folded ears, and cats that spend time outdoors may collect more visible debris around the outer ear, but that still does not mean the canal needs frequent flushing. Each cat differs. Use what you see, your cat’s comfort, and veterinary guidance to set the routine.
Common mistakes to avoid
The biggest mistake is treating ear cleaning like deep cleaning. It is not. You are cleaning the accessible outer area and helping a suitable solution loosen material, not trying to reach the bottom of the canal.
- Do not insert cotton swabs, fingers, tweezers, or the bottle nozzle into the ear canal.
- Do not use alcohol, peroxide, essential oils, or leftover medication.
- Do not clean an ear that appears painful, very red, swollen, bleeding, or foul-smelling without veterinary advice.
- Do not continue if your cat is panicking or trying hard to escape.
- Do not share a dirty cotton pad between ears, especially when one ear looks more irritated.
Another common mistake is assuming dark debris means ordinary wax. It may be wax, but it can also occur with issues that need a proper examination. A veterinarian can look into the ear with the right equipment and advise whether cleaning, medication, testing, or no treatment is appropriate.
FAQ
Can I use baby wipes to clean my cat’s ears?
It is better not to use them inside or near the ear opening. Many wipes contain fragrance, preservatives, or moisturizing ingredients that can irritate sensitive ear skin. Use a cat ear cleaner with cotton pads for cleaning, or a dry cotton pad for a tiny amount of loose debris on the outer flap.
Why does my cat shake their head after ear cleaner?
A brief head shake after solution is applied is expected. Cats do this naturally. It helps move loosened liquid and wax outward, which is why you should let your cat shake before wiping the visible area. Continued shaking later in the day, especially with scratching or discomfort, merits veterinary advice.
Can I clean my cat’s ears with olive oil or coconut oil?
Do not use kitchen oils as routine ear cleaners unless your veterinarian has specifically instructed you to do so. Oils can leave residue. They also do not address the reason for unusual debris and may make it harder for a veterinarian to assess the ear later.
What if my cat will not let me touch their ears?
Do not force it. Begin with short handling practice sessions away from cleaning time, pairing a brief ear touch with something your cat likes. If your cat still resists or the ears appear dirty and uncomfortable, ask a veterinary clinic for help rather than risking a bite, scratch, or stressful struggle.
Should both ears be cleaned if only one looks dirty?
Only clean the ear that has visible material if the other ear looks normal and your veterinarian has not given different instructions. Keep supplies separate. Comparing both ears is useful, though, because a clear difference in wax, odor, redness, or sensitivity is information to mention at a veterinary visit.
Related posts
This post is for general informational purposes only and is not veterinary advice. Every cat is different — if you have concerns about your cat’s health or behavior, please consult a qualified veterinarian.